www.inkydoodles.co.uk, site logo.
Follow us on Facebook

find us on facebook

All major debit / credit cards accepted (via Paypal secure website), or by your PayPal Account.

New side column

Cheque payments also accepted.

  • PayPal
  • Mastercard
  • Maestro
  • Visa
  • Visa Electron
Powered By Paypal
Mailing List

Subscribe to our mailing list

* indicates required

Shopping Basket

You currently have no items in your basket.

Shop Search

Blog

Hi, Sarah here.

I want to use the blog to let you know about what's going on at Inky Doodles, in my head and in the wider world of stamping and papercraft so that you too can be inspired and create something amazing!

find us on facebook


With the help of the wonderful Caroline Shinnie I hope to be able to show a card or project with instructions most days.

 RSS Feed

» Listings for October 2012

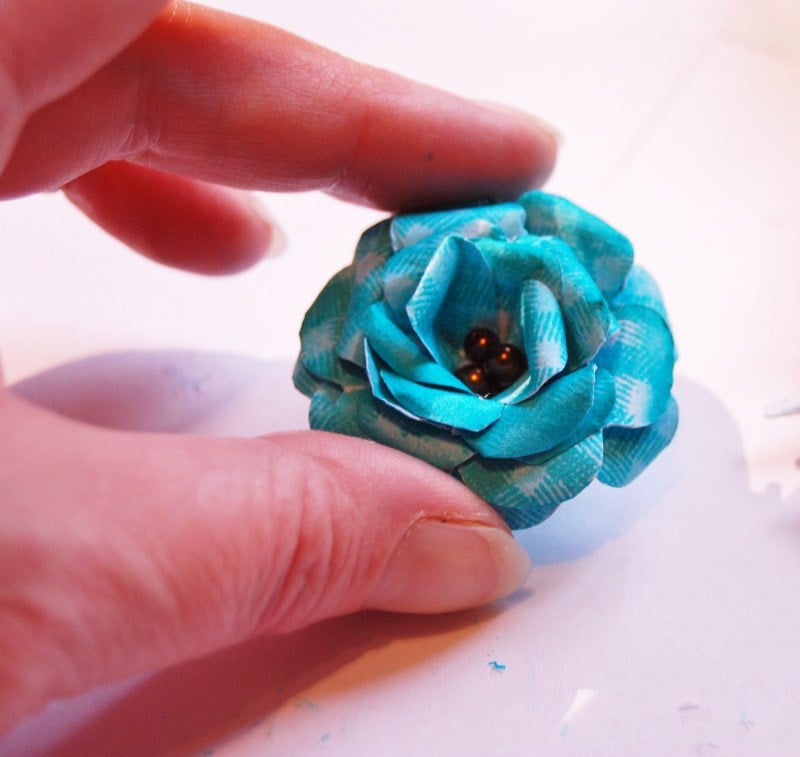
  1. Well folks that was easier and quicker than I thought it might be, in fact its taken longer to photograph and upload the images than to make the flower! So here it is, my take on a 3D flower made without the aid of any fancy die cut shapes.
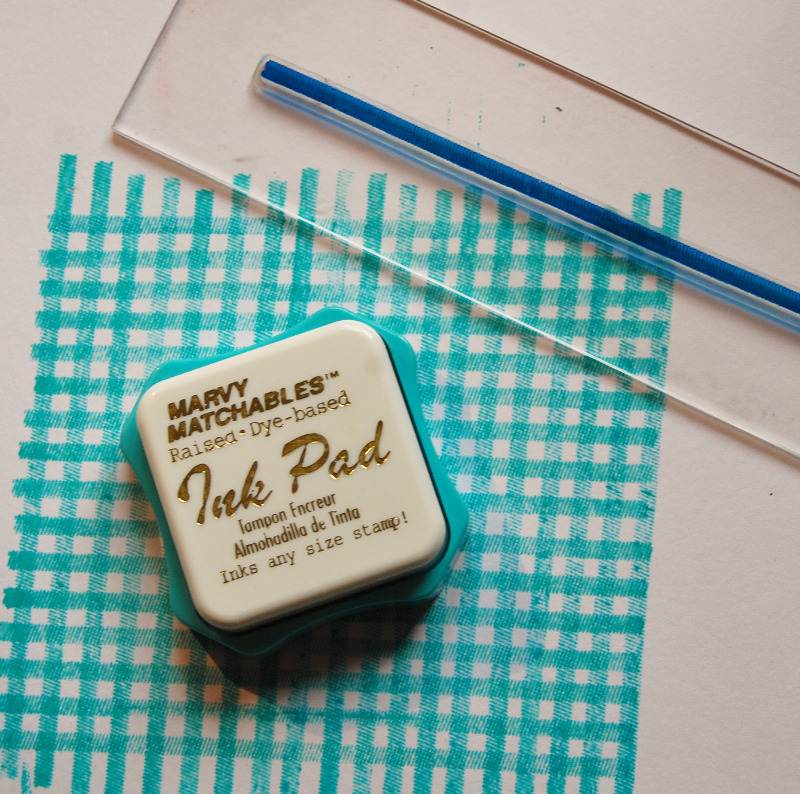
    dsc_9471 First of all I stamped a checked design using one of the plaid builder stamps from the primitive angel stamp set. I used a dye based ink and as you can see I wasn't too careful or overly worried about lining it up exactly.
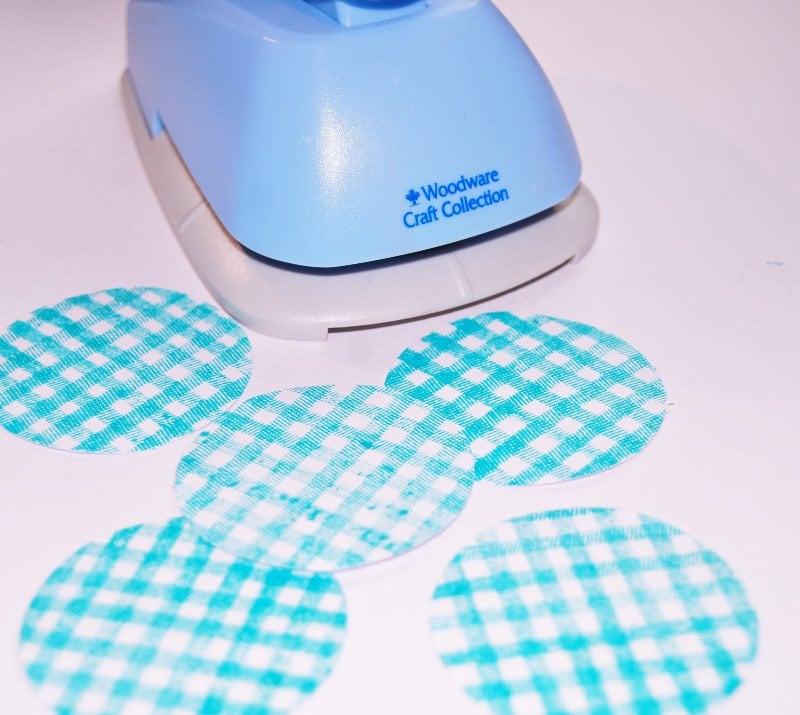
    dsc_9473 Next I cut out several circles from the stamped paper using a 2inch circle punch
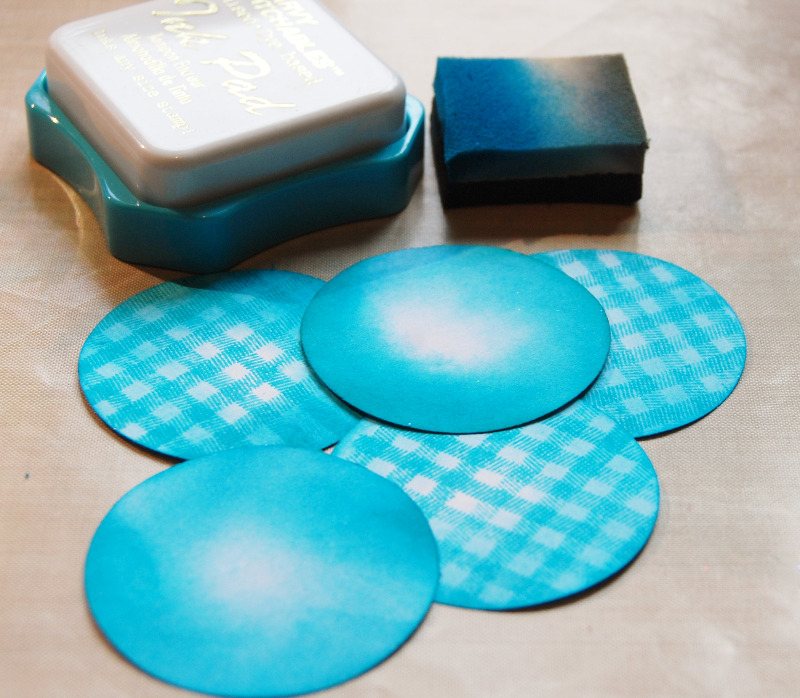
    dsc_9475 I inked around the edges of both front and back of the circles using the same ink as before.
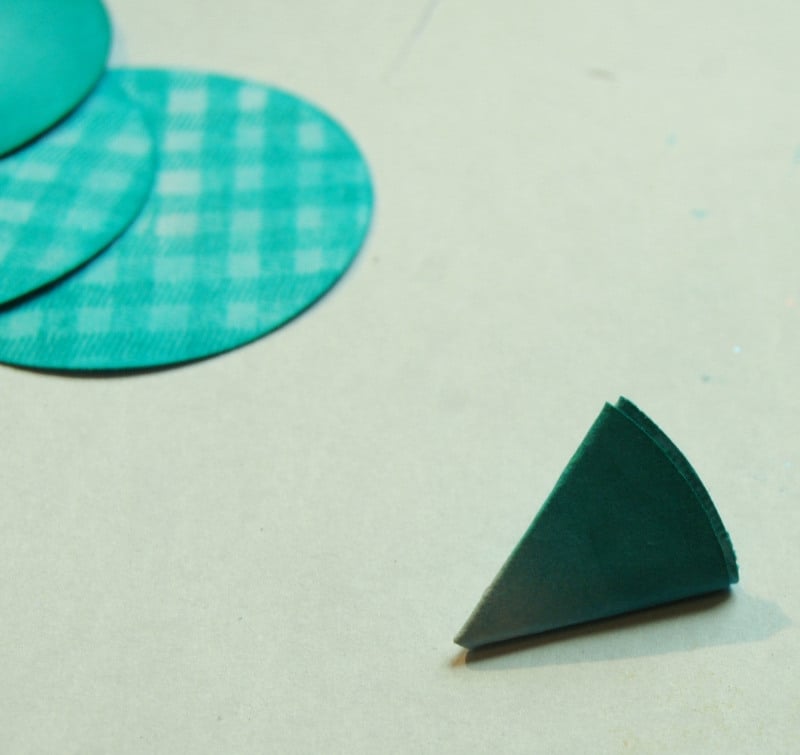
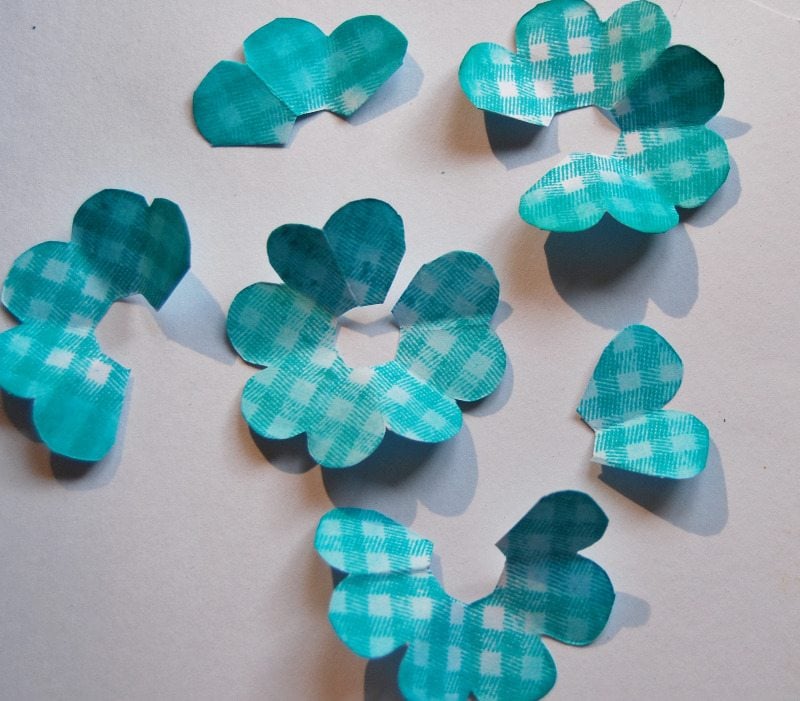
    dsc_9476 Fold each circle into half, then half again, and then half again, so that it looks like this. Next cut the corners off the triangle to make it more petal shaped, take care not to cut too far down as your circle will fall apart!
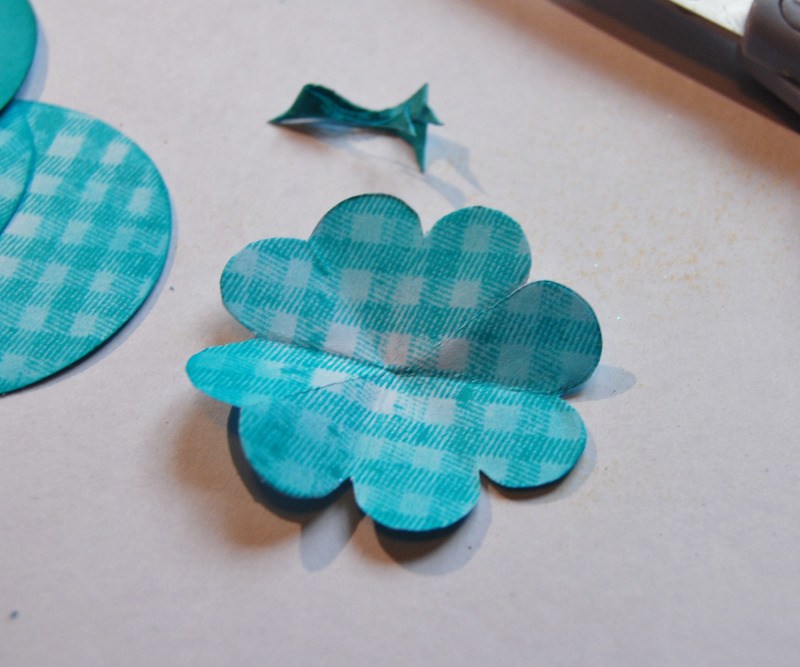
    dsc_9480 When you open it out it should look like this.
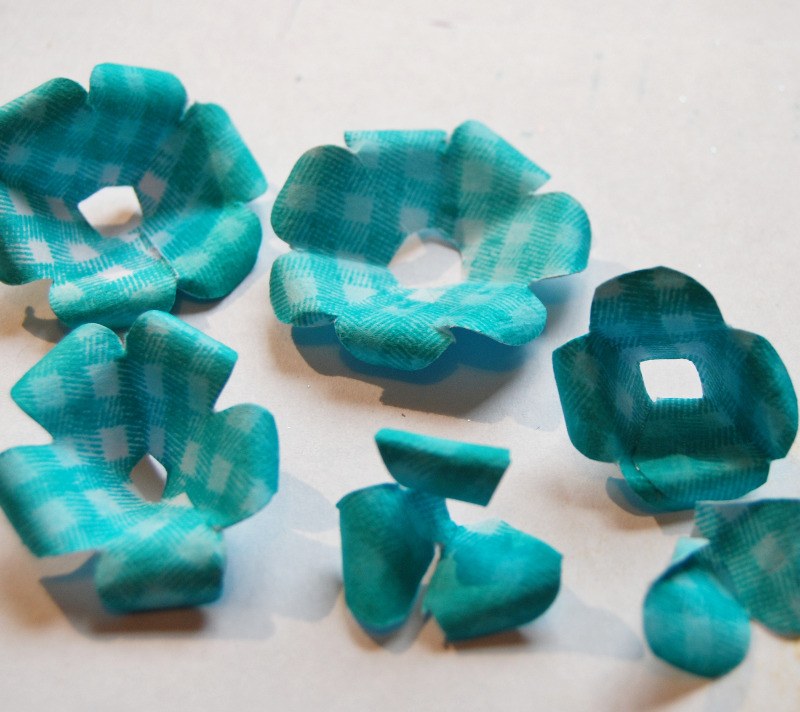
    dsc_9482 Next I cut some segments out from the shapes. The first I just cut down one fold line but didn't remove anything. The next I removed one petal, the next two, the next three and so on. I also trimmed some from the end of the triangle which will help the flower sit flat when it is assembled.
    dsc_9485 Start folding the flower together by overlaying one petal with another and gluing into place. Roll the edges of the petals around a pokey tool, cocktail stick or the thin end of paintbrush. When you get to the smaller pieces just roll them don't bother gluing yet.
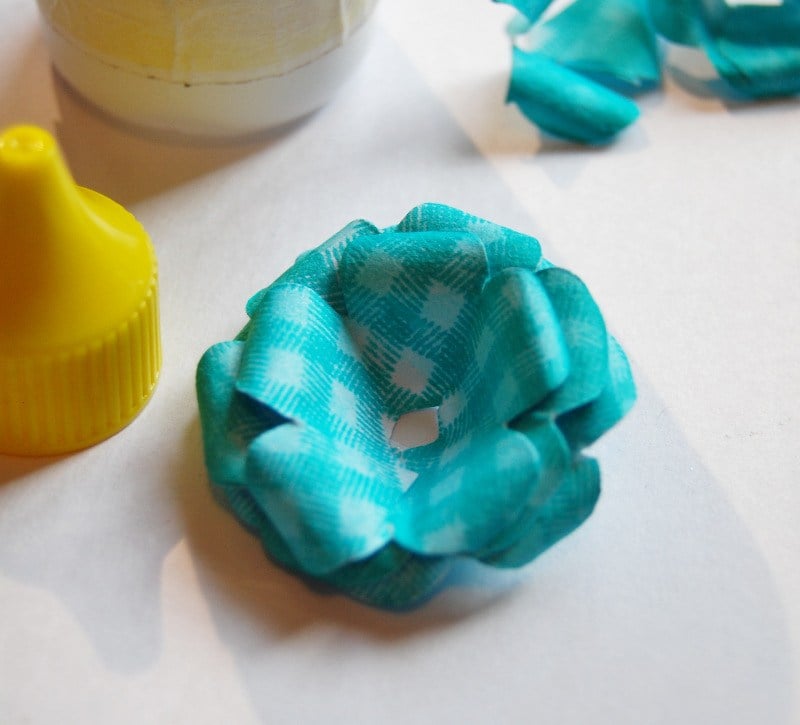
    dsc_9487 Now start by applying some glue to the centre of the largest flower shape, be generous here it will give you extra time to move your petals around and means your flower will be firm when the glue dries. Then add more glue and more layers of petals. the very small centre pieces can be rolled and pinched together before adding to the flower. Dont panic at this point if you don't think it looks great, you can always tweak more when the glue has set.
    dsc_9488 Your flower should be looking something like this now.
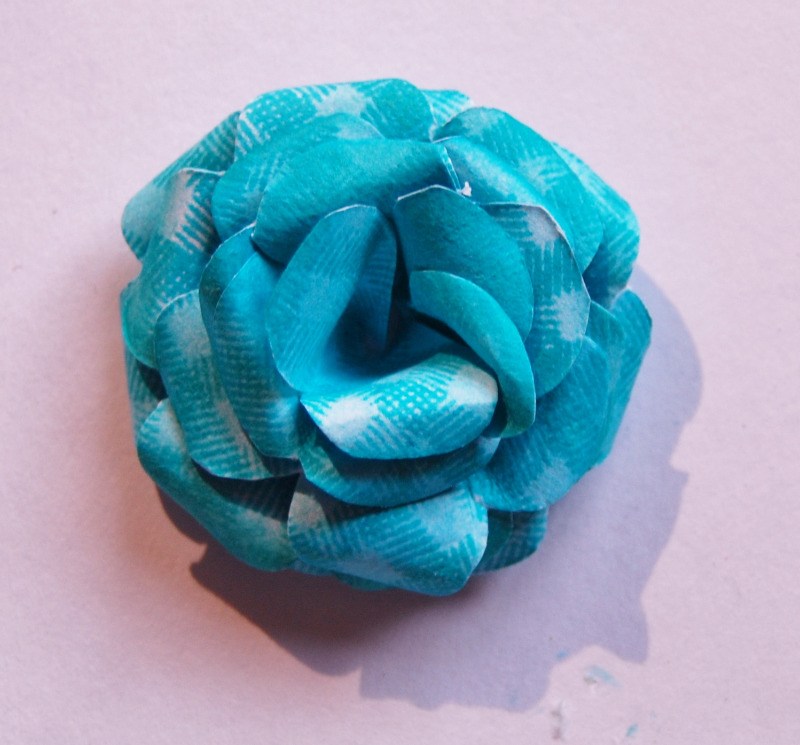
    dsc_9496 Here is the finished flower. I've put a drop of glue in the centre and added a few beads. The glue should dry clear, hopefully! I think it looks quite effective really, considering all it's made from is a sheet of white paper, some ink and a bit of patience! Proof that you don't need lots of fancy tools and papers to get great results. I hope you guys will give this a go and let me know what you think.


  2. Do you ever start the day thinking "today I'm going to find some time to do some crafting"? You get in the craft room, or get out all your stuff on the dining room table, and then you sit there and think "I don't know what to do!" We all have times like this when we are just lacking inspiration and anything we try just doesn't seem to turn out. Well don't despair and pack it all away again!! Why not take the pressure off yourself and just spend some time playing with your stamps. Get yourself a cheap pad of paper, I use a large (A3) sized sketch book, bought very cheaply at a well known stationery and book shop, this way you won't be wasting your precious,  expensive card and paper. (I always use this under my work when I am stamping anyway, it saves your table and gives you a nice cushioned surface to stamp on. When you have totally covered your page don't tear it out and throw it away, just turn to a clean page and carry on. It's always interesting to look back over what is on your pages and remember what you were doing at the time!)

    Anyway, I digress, back to the here and now.  Choose some stamps that you bought because you loved them or felt inspired by. (Most of us have some like this, we buy them, get them home and use them a couple of times, get bored and put them away!) If you usually stamp everything in black and colour them in, why not try using different coloured inkpads, try using distress inks, give them a quick blast with your heat gun and then, using a damp paintbrush, pull some of the colour into the image to colour it in a different way. If you don't usually colour in, try it, its not as fiddly and time consuming as you might imagine. You really don't need to add loads of shading to get a good result. I stamp lots of things and then cut them out, then gently ink around the edges with distress ink to give just a hint of shading, it's really effective and gives a good rounded look. One quick tip here if you cut out your images like I do, sometimes after cutting out you can get bits of the card at the edges which dont lie flat because its been bent by the scissors., turn your card over, image side down, and gently rub over it with your bone folder, it seems to make all the fibres lie down and behave again, and you lose that nasty, badly cut out look.

    Try to look at your stamps differently, stamp them a few times, cut them out, rotate them, layer them up, try some simple masking techniques, you may well be surprised at what you come up with! Most importantly, remember this is not a test, and you don't have to have something finished and wonderful at the end of it. I think we all need to give ourselves some time to play, it really is the best way to learn, allow yourself some experimentation! 

    So what am I going to do today? Well, I had this idea that I might try making some flowers without the aid of a special die, you all know the ones I mean, very expensive!! I'm sure it can be done very simply with a circle punch and some stamped backgrounds to add some interest, better get my thinking cap on and get cracking. I'll let you know how it goes, and hopefully add some pictures later.

    Ooh, nearly forgot!! I discovered an interesting tip to pass on yesterday. Sometimes when using silhouette stamps or other stamps with a lot of solid background, they don't seem to stamp well when using dye based inks. Here's what I discovered, if you ink your stamp first with Versamark then ink over with your preferred dye based ink, then it will stamp out much better. The Versamark seems to stop the ink beading up on the surface of the stamp and allows it to be evently distributed, I found this out while getting frustrated with some silhouette stamps yesterday, can't believe nobody told me this before.

    Happy stamping everybody. x

  3. My apologies to everyone who was waiting for the upcoming shows on Create and Craft, due to problems with restocking, (problems which I have tried desperately to fix) these two shows have had to be delayed. My new stock should be arriving next Thursday so all being well and subject to C and C's scheduling we should be back very shortly after that.  It has been a very tough week for me, trying to resolve various problems with the manufacturers, whilst not knowing whether I would be able to meet the deadline for Create and Craft. It was a tough decision to delay the shows but I feel it will be for the best in the long run, I would hate to go on air and have people buying products that they would then have to wait an unreasonable amount of time for. I have however been spending the time making more card samples and will get them uploaded later today.  Bear with me please folks and in the meantime Happy Crafting!